Sourdough Discard Sandwich Bread
May contain affiliate links. Disclosure policy.
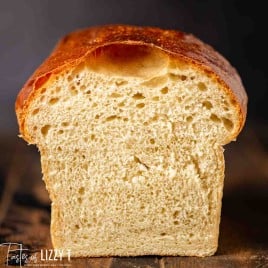
Soft, sourdough discard sandwich bread with a beautiful golden brown crust. This easy homemade bread recipe makes two loaves and is the perfect white sandwich bread.
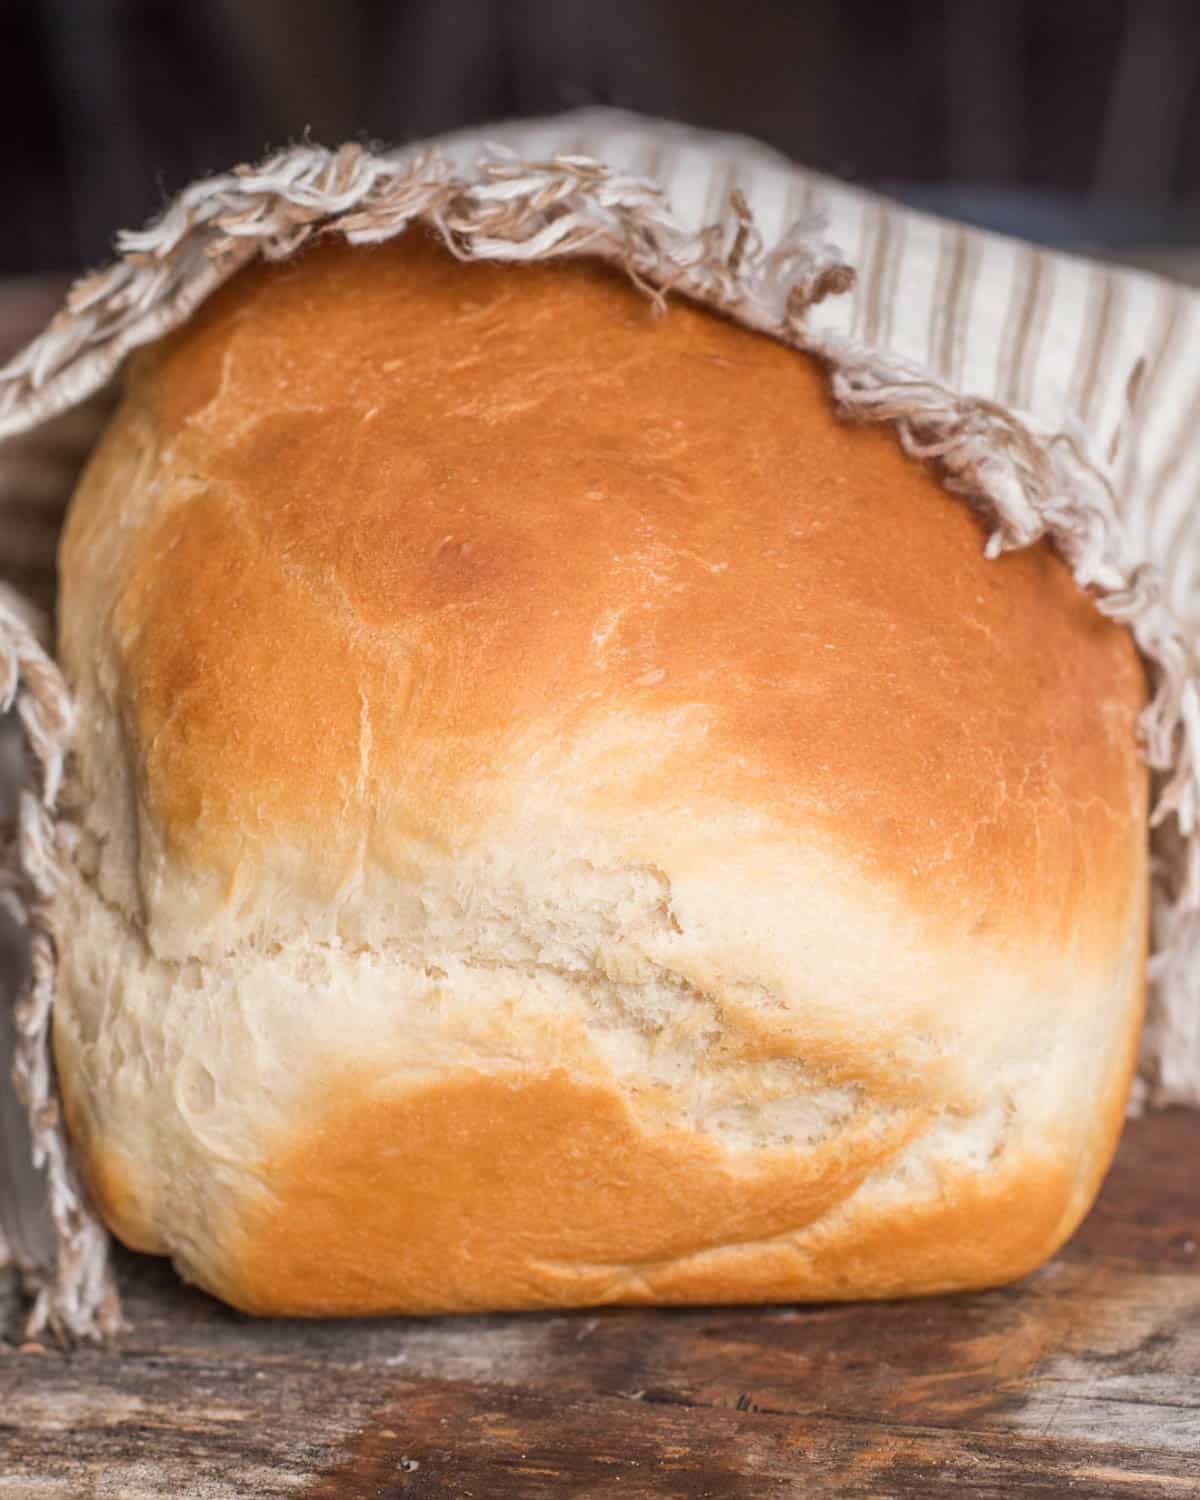
If you’re looking for a way to use up sourdough discard and want something a little more than a sourdough scone, this recipe is it! No need to have active, bubbly starter for this sourdough discard sandwich bread recipe. It’s quick. It’s easy, it’s delicious…and perfectly sliceable for sandwiches.
Whether you are fixing peanut butter and jelly, a BLT, or a loaded meat and cheese sandwich, this is the sandwich bread you need.
About this Sourdough Discard Sandwich Bread recipe:
We call this a “lazy” sourdough discard bread. If you are looking for an artisan sourdough sandwich bread, this is not it. Those type of loaves have to rise overnight. This recipe is for when you want a quick loaf of bread, which is why it still uses yeast.
This sourdough recipe isn’t as chewy as an artisan loaf, but if you use bread flour has a chewier texture than traditional white bread. It’s a great way to use up sourdough discard since it still has yeast to help it rise.
Once you have the sourdough starter discard, mixing the bread is just like any other bread. This is an easy recipe we’ve made over and over again and had turn out perfectly every time. I love how the crust browns into a beautiful color that reminds me of autumn.
This bread is perfect alongside a bowl of soup, as French toast, in casseroles and sliced for sandwiches.
Sourdough Starter Discard
It’s important to know that you need a sourdough starter before you make this homemade bread. Active starter takes at least 48 hours, but has better flavor the longer it sits. You can find complete instructions on how to make sourdough bread starter here.
As you grow the active sourdough starter, you remove a portion of the starter and feed it. The part you removed is called “discard” and can be used in recipes along with another leavening agent (like in our sourdough pie crust and sourdough pumpkin pancakes. You still get that great sourdough flavor with less work!
The sourdough does not have to be active to use in this recipe. The same as with our whole wheat sourdough bread. Use the sourdough discard.
Tips for this Sourdough Discard Sandwich bRead
When I mix up yeast breads I use my stand mixer to knead the dough. If you happen to have a bread maker, you could use the dough setting and knead the dough that way.
But don’t worry…if you don’t have either of those appliances you can still make this bread! Simply mix the dough up in a large bowl and then knead the dough by hand for about 5-6 minutes.
- About the milk: You want the milk to be warm, about 110-115 degrees so that the yeast can start to activate. Be sure it isn’t too hot!
- About the yeast: The most important thing to remember about yeast is to make sure it is fresh. There’s nothing worse than getting part way through your homemade bread recipe and realize that the bread isn’t rising due to old yeast. Our favorite yeast is Red Star Platinum Yeast. It produces beautiful, tall loaves, every time. This yeast is an instant yeast so you don’t have to wait 5 minutes for the yeast to “proof”. Add the yeast to the warmed milk and then you’re immediately ready to add in the rest of the ingredients and mix.
- About the flour: To make a rustic, chewy loaf of bread, you’ll want to use bread flour, which is a high gluten flour. If you want your bread softer in texture you can use all-purpose flour. The recipe calls for 4 ½ cups of flour. The dough should be slightly tacky when you touch it. If you feel you need to add a little more flour (especially if kneading by hand), add the flour a tablespoon at a time. I wouldn’t add more than an additional ½ cup flour. The more flour you add, the drier and harder your bread will be.
- About rising bread dough: To allow the bread dough to rise until it is almost double in size. I like to set my oven to 170º for a minute or two to let it warm. Then turn off the oven and place the covered bowl (with the dough inside) on the oven rack. Close the oven door and your dough will have a cozy, warm place to rise. My dough normally takes about 30-35 minutes to rise. This can potentially take around 60 minutes though, so be sure you plan enough time. Temperature, humidity and altitude can all play a part in how long it takes bread dough to rise.
- The second bread dough rise: After the dough has risen once, you’ll divide the two in two, shape them into loaves and place them in a greased 9×5 or 8×4 loaf pan. Either size will work. Cover the pans and allow the loaves to rise for an additional 20-25 minutes before you bake them. Preheat the oven while the dough rises so they are ready to pop in the oven.
Bread Wash
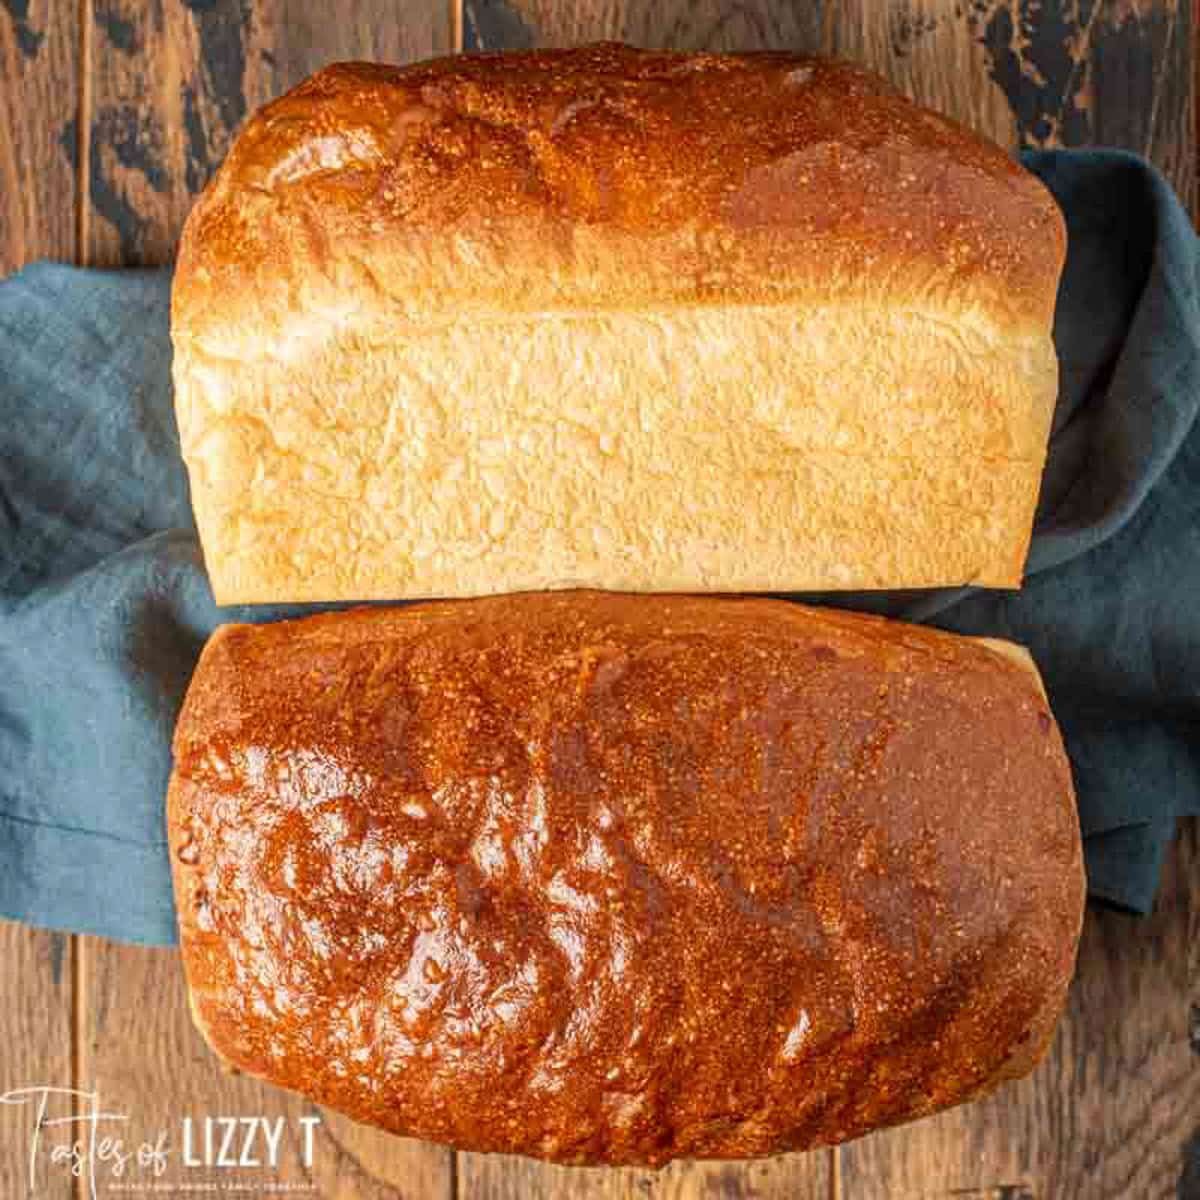
To get this lovely golden brown color on this sourdough loaf, whisk together an egg and one tablespoon of water. Brush this on top of the loaf before baking. You can also brush a tablespoon of oil on top of the loaf of bread once the bread loaves have risen. The oil gives it a soft crust.
Read our complete guide to bread washes to see different results you can get on your sourdough discard sandwich loaf.
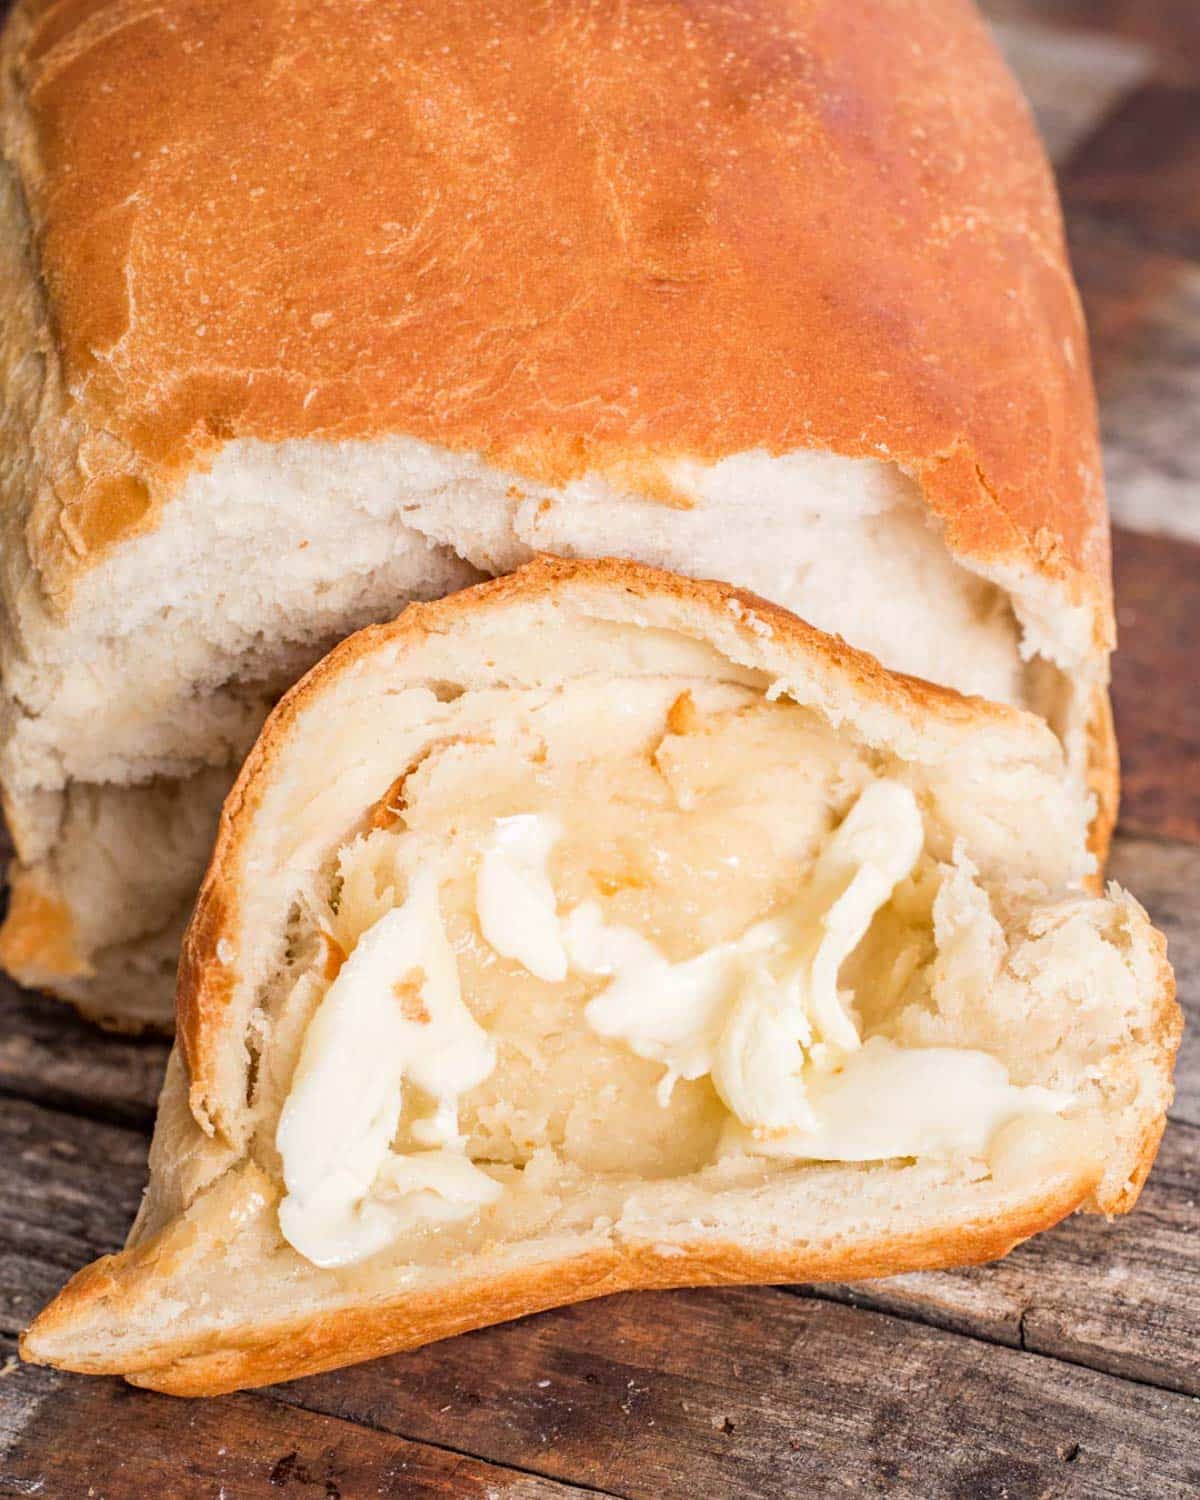
This is what bread looks like when you cut it while it is hot. It smooshes! But sometimes it is soooo worth it. It’s unbeatable with melted butter and honey on top.
How to Store Sourdough Discard Sandwich Bread
Store any leftovers in an airtight container at room temperature for up to 4 days.
You can also freeze this bread. Wrap once in plastic wrap, then wrap again in foil or another airtight container. Freeze for up to 2 months. When you are ready to use it, thaw the bread completely at room temperature before opening the packaging to ensure the bread stays fresh.
Sourdough Discard Sandwich Bread
Soft, chewy sourdough discard sandwich bread with a beautiful golden brown crust. This easy homemade bread recipe makes two loaves and is the perfect white sandwich bread.
Servings 20
Prep Time 20 minutes
Cook Time 30 minutes
Rise Time 50 minutes
Total Time 1 hour 40 minutes
Ingredients
For the bread:
- 1 1/2 cups warmed milk (110-115 degrees Fahrenheit)
- 2 1/2 teaspoons instant yeast (I love Red Star Platinum)
- 1 cup sourdough starter (discard works great in this recipe)
- 1/4 cup canola oil
- 1 teaspoon salt
- 1 tablespoon granulated sugar
- 1/2 teaspoon baking soda
- 4 1/2 cups bread flour (plus an additional ½ cup for handling the dough)
For the bread wash:
- 2 tablespoons canola oil OR
- 1 large egg
- 1 tablespoon water
Instructions
- Pour the warmed milk into the bowl of a stand mixer*. Sprinkle the yeast over the milk. 1 ½ cups warmed milk, 2 ½ teaspoons instant yeast
- Add the sourdough starter, canola oil, salt, sugar, baking soda and flour. 1 cup sourdough starter, ¼ cup canola oil, 1 teaspoon salt, 1 tablespoon granulated sugar, ½ teaspoon baking soda, 4 ½ cups bread flour
- Using the dough hook attachment, mix the ingredients on medium speed until they are combined. Then set the mixer to medium speed and knead for 4-5 minutes. The dough should be slightly tacky to the touch. If you think the dough is too wet, add additional flour 1 tablespoon at a time, being careful not to add too much flour.
- Transfer the dough to a large bowl sprayed with cooking spray. Cover the bowl with a tea towel and allow the dough to do its first rise in a warm place for 30 minutes or until double.
- Divide and shape the dough into two loaves and place them seam side down in greased 8×4 or 9×5 loaf pans. You can also line the pans with parchment paper for easy removal. Cover the loaf pans and allow the dough to rise for another 20 minutes.
- Preheat the oven to 400ºF.
- Uncover the bread pans. To get a lovely golden brown color, whisk together an egg and one tablespoon of water. Brush this on top of the loaf before baking. OR you can also brush a tablespoon of oil on top of the loaf of bread once the bread loaves have risen. 2 tablespoons canola oil OR 1 large egg, 1 tablespoon waterBoth will give you a brown top, but the egg wash makes a shiny top.
- Bake the bread loaves for 25-30 minutes. The top should be golden brown and the loaves should sound hollow when you tap it.
- Allow the loaves to cool 10 minutes in the pans, then move them to a wire cooling rack to cool completely. Store in an airtight container.
Notes
*If you don’t have a stand mixer, just mix the ingredients in a large mixing bowl and then knead by hand for 5 minutes.
**We call this a “lazy” sourdough bread. If you are looking for an artisan sourdough bread, this is not it. Those type of loaves have to rise overnight. This recipe is for when you want a quick loaf of bread, which is why it still uses yeast.**
Refer to the article above for more tips and tricks.
The calories shown are based on the recipe making two loaves, each being cut into 10 pieces. 1 serving is 1 slice of bread. Since different brands of ingredients have different nutritional information, the calories shown are just an estimate. **We are not dietitians and recommend you seek a nutritionist for exact nutritional information. **
Nutrition
Calories: 156kcal | Carbohydrates: 25g | Protein: 4g | Fat: 3g | Cholesterol: 1mg | Sodium: 153mg | Potassium: 68mg | Fiber: 1g | Sugar: 1g | Vitamin A: 30IU | Calcium: 25mg | Iron: 1.3mg





Could a healthy oil be used, since canola is the worst
I was wondering if you could add the grams for the ingredients. I love to be super accurate when baking now. It’s just a habit. I want this amazing recipe to be absolutely flawless! This is my go to!!
Do you sell bread and rolls?
What temp should this be cooked to? 190 or 200?
How much of the loaf is one serving? I love making this bread but without knowing how much it makes it hard for calorie watching
Just made this sourdough bread and it is Amazing!!! Soooo easy and bakes up perfectly!!! So soft and it tastes so good!
I have never made bread before and I am happy with how this came out. I used regular all purpose flour and I think it tastes really good and the texture is soft rather than chewy because of that. I will try bread flour next time. Got to keep myself from cutting another slice !
HI!! Does each loaf make 20 servings or do both loafs make 10 servings? Excited to try it out!
Fantastic recipe! Just finished slicing and tasting some of the first loaf, and it is heavenly. Changes made: Omitted the sugar, 1.5 tsp of salt, and only used half of the baking soda. The result: two tender and soft sandwich loaves, with delicious flavour, (and great toasted too!). 10/10 will make again! My loaves did split in the top slightly, but it added a bit of crunch so I’m not upset. I also add Maldon salt to both loaves, and topped the second with everything bagel seasoning (at my partner’s behest). We got through bread rather quickly, so the recipe… Read more »
Beautiful, delicious bread! My kids and husband gave rave reviews. FYI I replaced the canola oil with olive oil and brushed the top with butter and also added a little more salt. The taste is like a far superior version of Honey Wheat bread from the store with an interesting hint of sourdough flavor. Thank you for this great recipe!
I’ve made this three times now. I love it. I can’t get it to rise like sandwich bread. I’ve totally followed the recipe. Any ideas???
Can you add seeds to this recipe? Maybe replace some of the flour with sunflower seeds, pumpkin seeds, hemp seeds?
I’m looking for a seeded loaf for sandwiches.
My family loves this homemade sandwhich bread! I multiplied the recipe by 1.5 and it made two beautifully sized loaves. For some reason original recipe just didn’t give me big enough loaves (although delicious regardless!). When I say I’ve tried a ton of sandwich loaves, I’m not kidding! My kids just never loved them. I’m so glad I found this because my kids loveeee it!! And I love how quick and easy it is!
I was looking for a good bread recipe using sour dough discard since I seldom plan far enough ahead to make the true Artisan sour dough bread. This recipe is perfect! A hint of sour dough flavor but in a fraction of the time. Thanks for the detailed instructions! I tried each of the glaze toppings with great results.
This tastes delicious! However, my bread popped on the top, both loaves, so the crust is broken and it’s opened up. Did it cook too long? Proof too long? It still tastes great, just wondering why the broken crust up top!