Reese’s Peanut Butter Cake
May contain affiliate links. Disclosure policy.
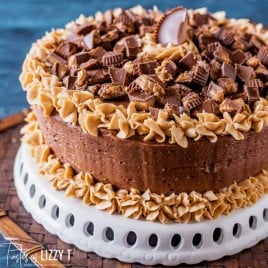
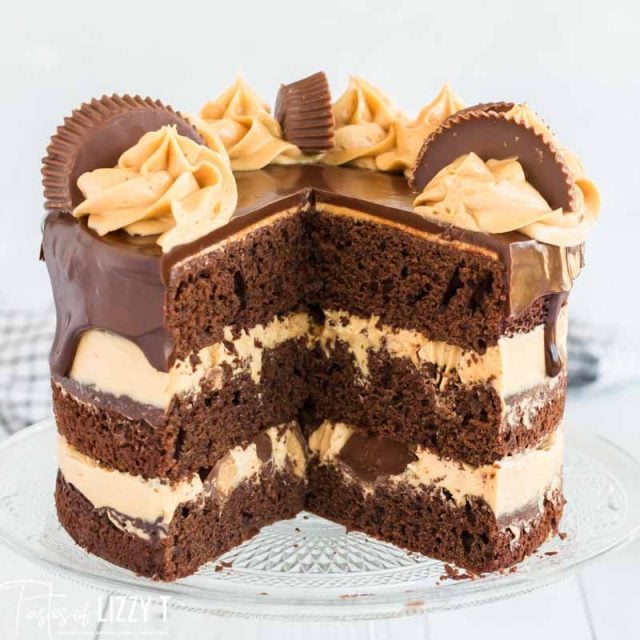
Chocolate Reese’s Peanut Butter Cake is a moist chocolate cake with peanut butter frosting and buttercream frosting! Perfect for the Reese’s lover in your life!
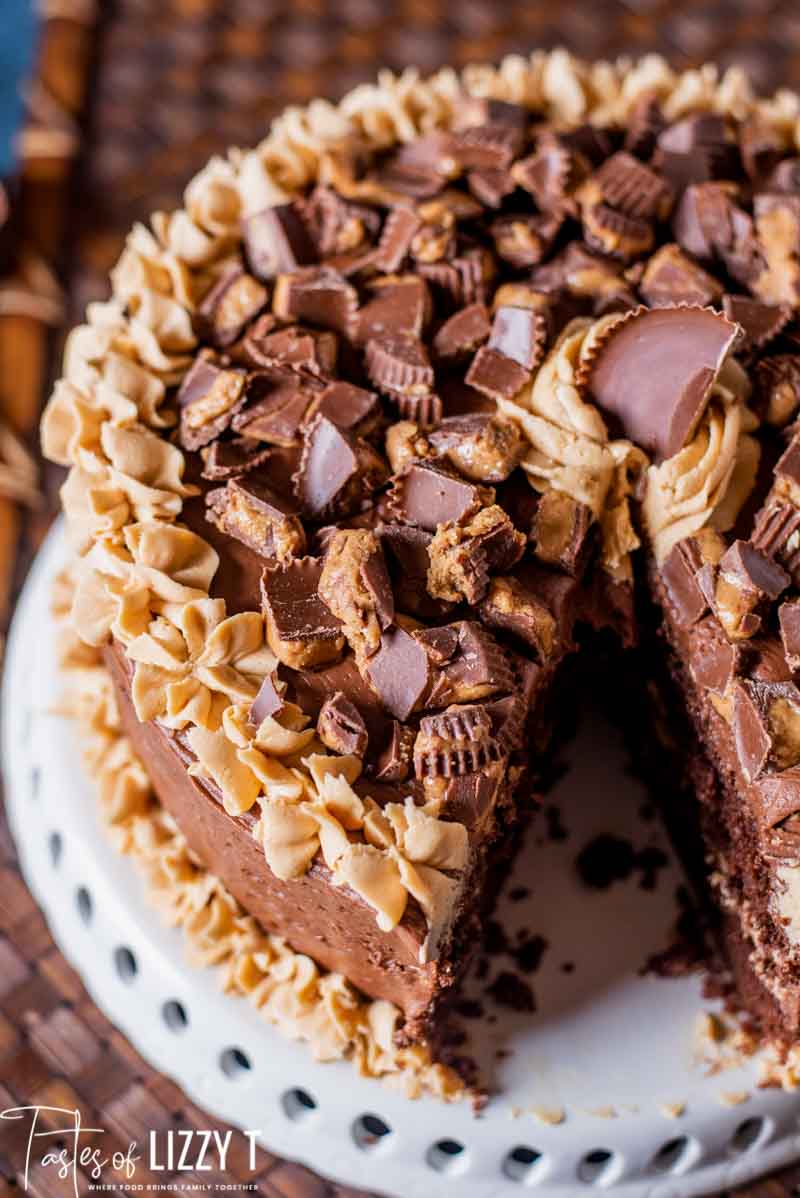
We had the idea of this amazing chocolate peanut butter Reese’s Cake a month ago for a friend’s birthday cake. Peanut butter, chocolate, cake, (I couldn’t pass up any of those!). I’m a cake person, but not an icing fan. People tell me I’m crazy because of that.
But I have found a couple of icings I really like. This chocolate peanut butter Reese’s cake has peanut butter frosting that I just can’t keep out of. It’s my dream cake.
❤️ Why you’ll love this chocolate peanut butter cake recipe:
- 100% homemade
- Fudgy dark chocolate cake
- Melt in your mouth chocolate and peanut butter buttercream frosting
- Like a Reese’s cup, but so much better. You’ll fall in love with the chopped Reese’s cups all over the top of the cake.
We have made this cake for countless birthdays and holidays. It’s featured beautifully in our homemade black forest cake. And although we don’t normally sell our baked goods, we’ve sold quite a few of these cakes to family and friends. It’s that good.
What is the secret to a super moist cake?
This is my favorite homemade chocolate cake to make because it’s easy and it turns out perfectly moist every time.
In this recipe, buttermilk is the secret to making the cake super moist. Buttermilk adds fat and also tenderizes the cake, breaking down the strands of gluten.
The Parts of Chocolate Peanut Butter Cake
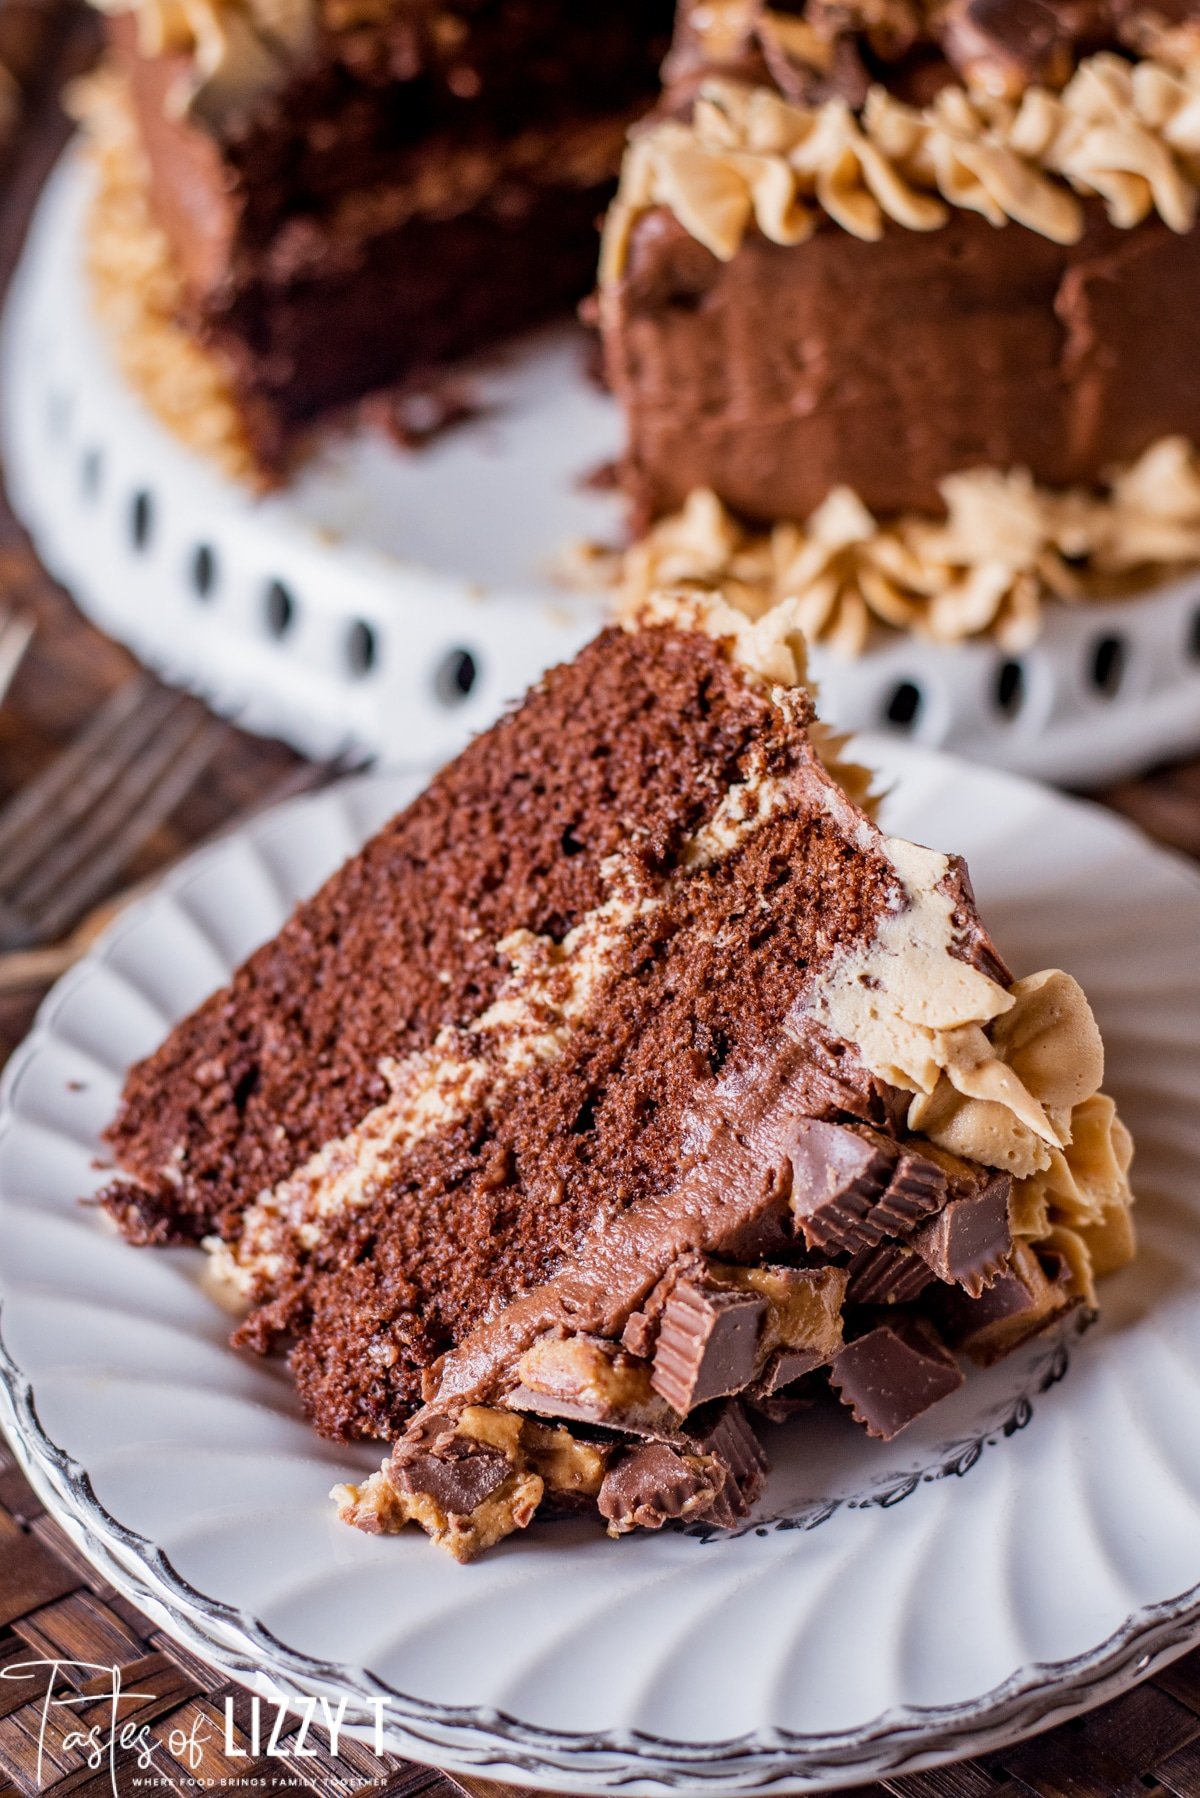
This overloaded chocolate peanut butter cake has 4 delicious parts.
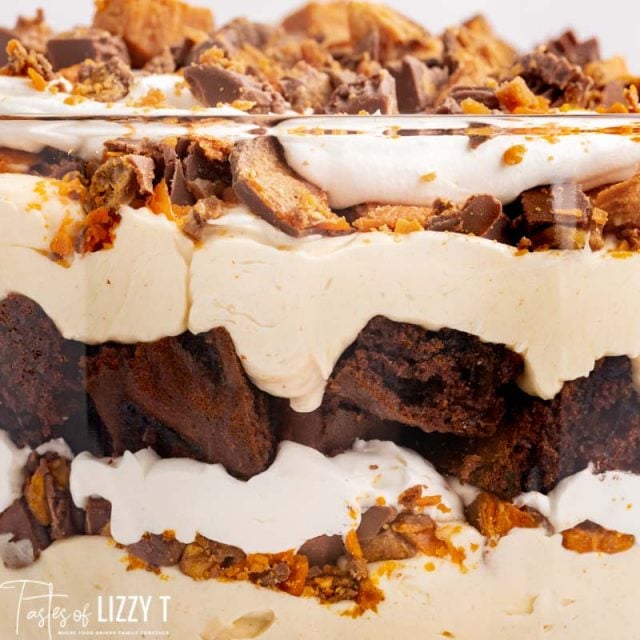
- Chocolate Cake. If you’ve never made cake from scratch before, this is the one to start with. It’s foolproof and has texture most like a box cake mix.
- Creamy Peanut Butter Frosting. You know those little chocolate peanut butter buckeye candies? This frosting tastes like the center of a buckeye.
- Chocolate Buttercream. I have been making this chocolate buttercream for close to 20 years. It will melt in your mouth.
- Reese’s Peanut Butter Cups. Of course you wouldn’t have to use these, but candy makes everything better, right? If you agree, you may also love our peanut butter Snickers cake.
Our Favorite Chocolate Cake Recipe
I’ll step you through making this from scratch chocolate cake. It’s the perfect base for just about any frosting, so keep this recipe on hand.
- Prepare. Preheat oven to 350º Fahrenheit. Grease and flour 2 round 9-inch cake pans. You can also line the pans with parchment paper if you want to ensure the cakes come out cleanly.
- Mix dry ingredients. For the cake, put flour, sugar, cocoa, baking powder, baking soda and salt in a mixing bowl. Use a whisk to whisk the ingredients well.
- Mix wet ingredients. In the bowl of a stand mixer (or in a mixing bowl using a hand mixer), mix the buttermilk, oil, eggs, vanilla together.
- Combine the two. Slowly add in the mix of dry ingredients while the mixer is on low.
- Add coffee. Trust me. Add the coffee and make sure everything is combined. The coffee enhances the chocolate flavor. 😋 The cake batter will be very thin.
- Bake. Pour the batter into the prepared pans and bake for about 25 minutes or until a toothpick inserted in the middle comes out clean.
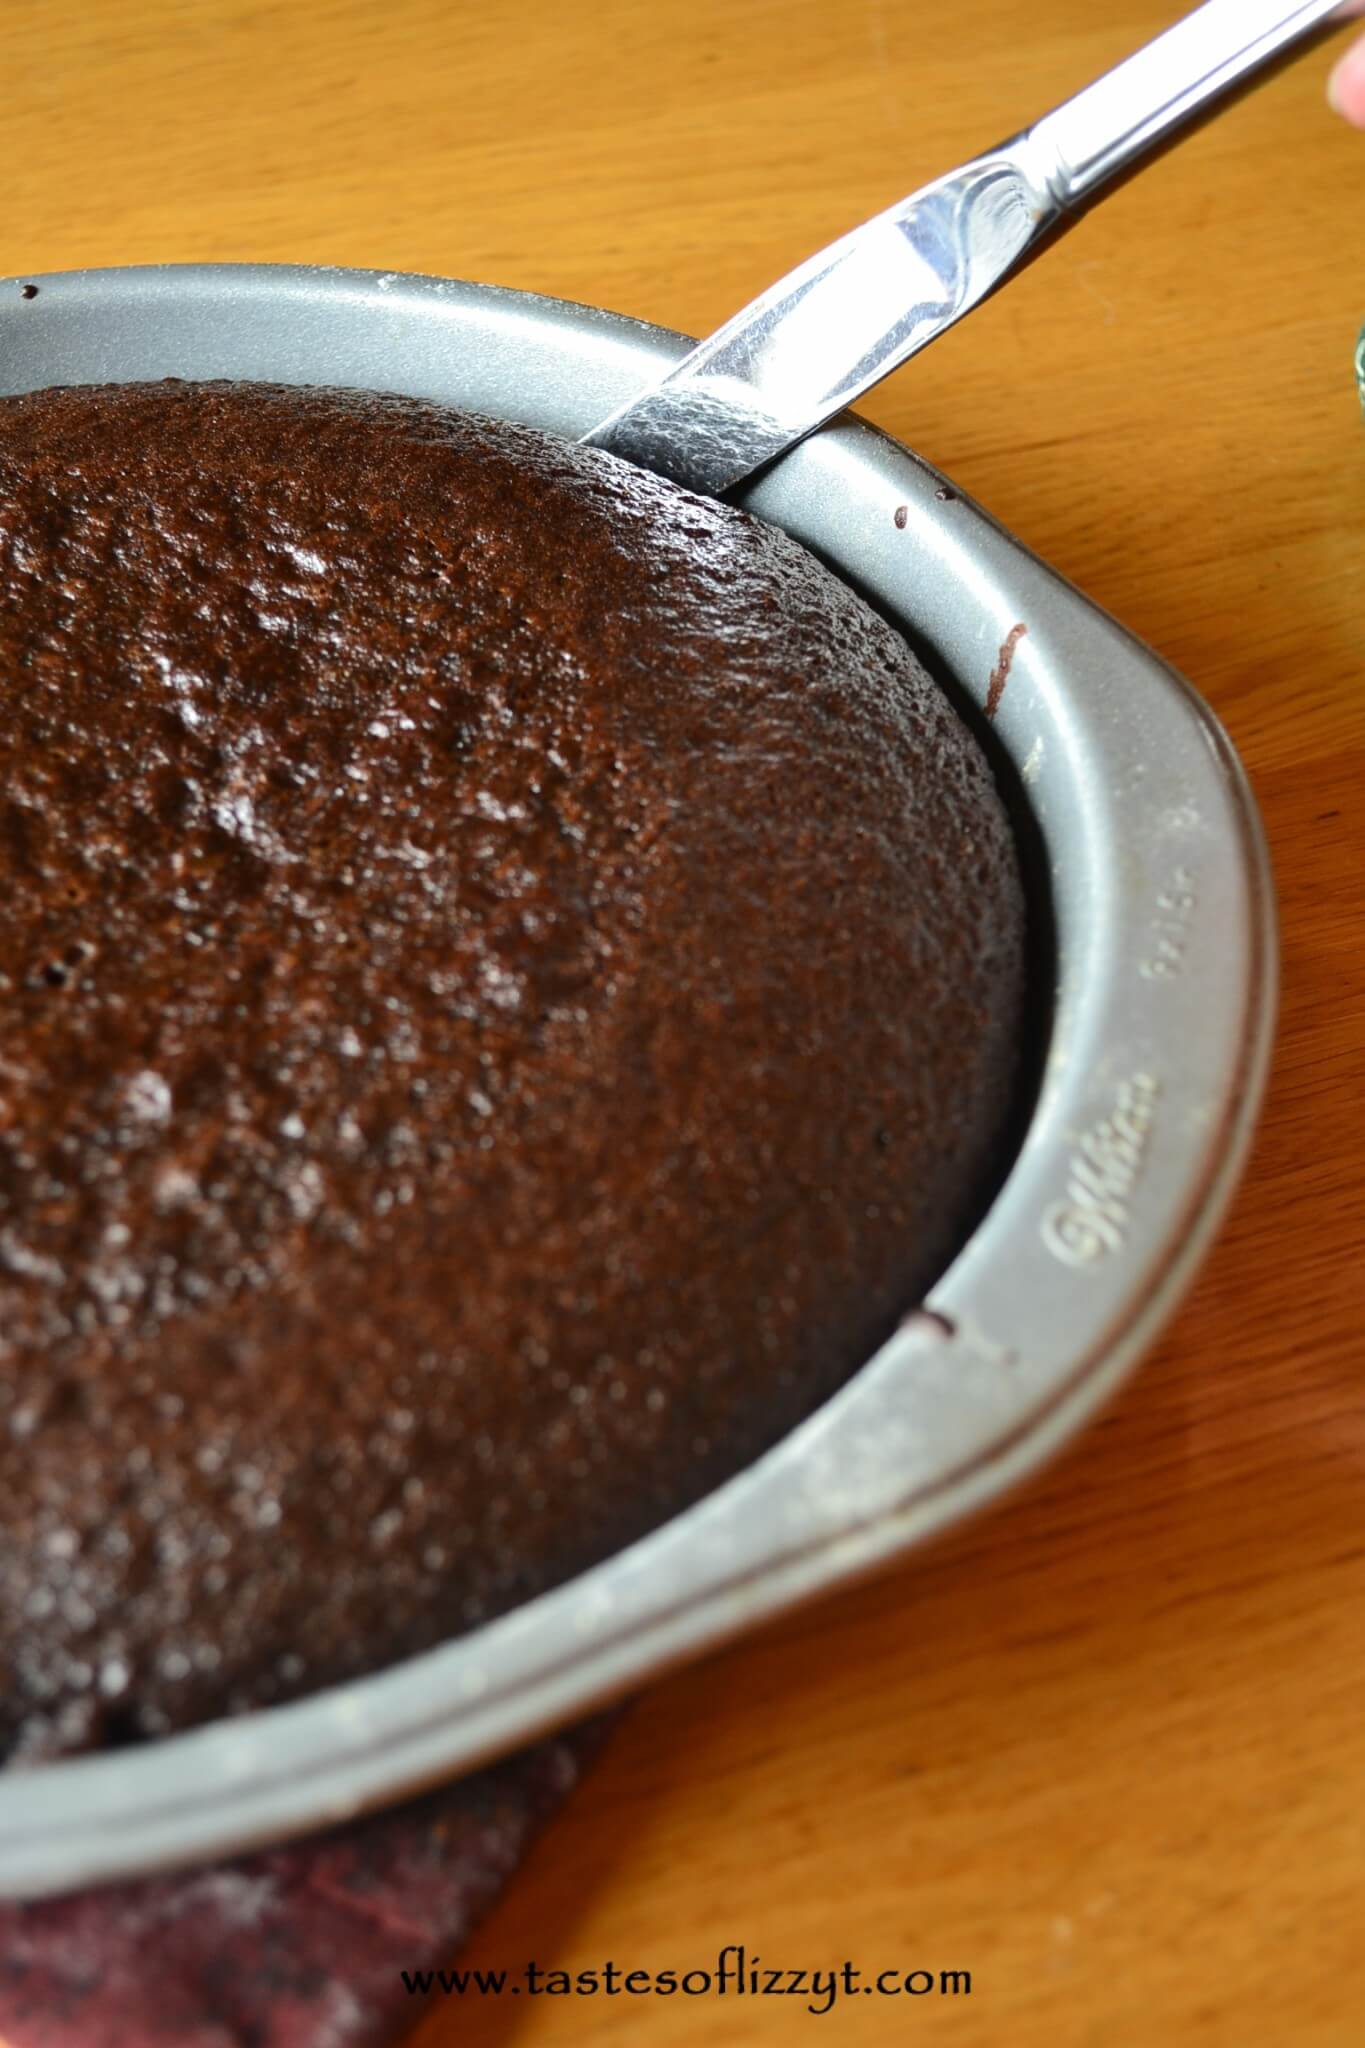
- Cool. Allow the cakes to cool in the pans for 10 minutes. Loosen the edges of the cake with a knife, then turn the cakes out on parchment paper or a wire rack to cool completely before you frost them.
Make the Frostings
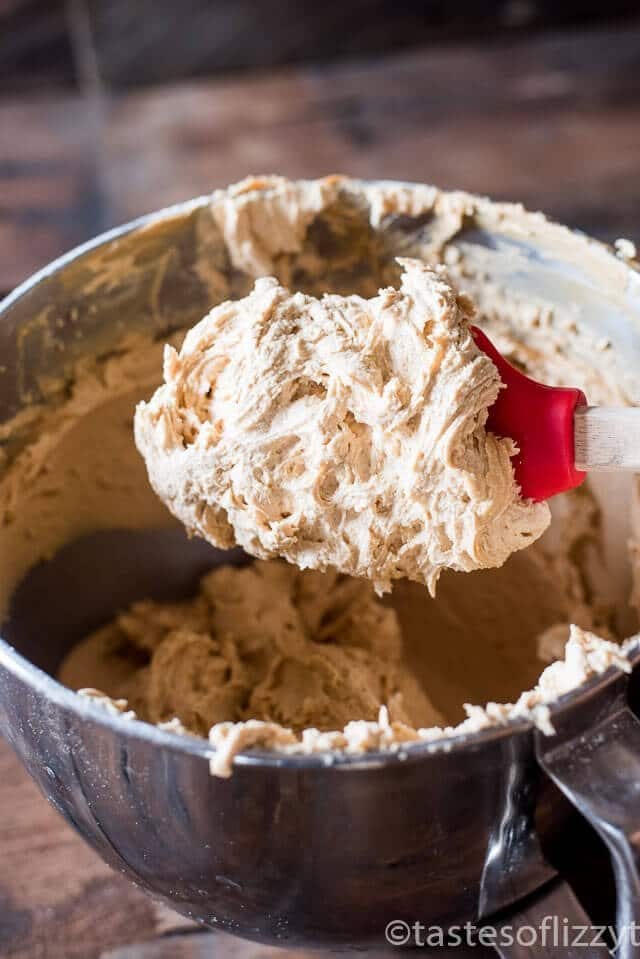
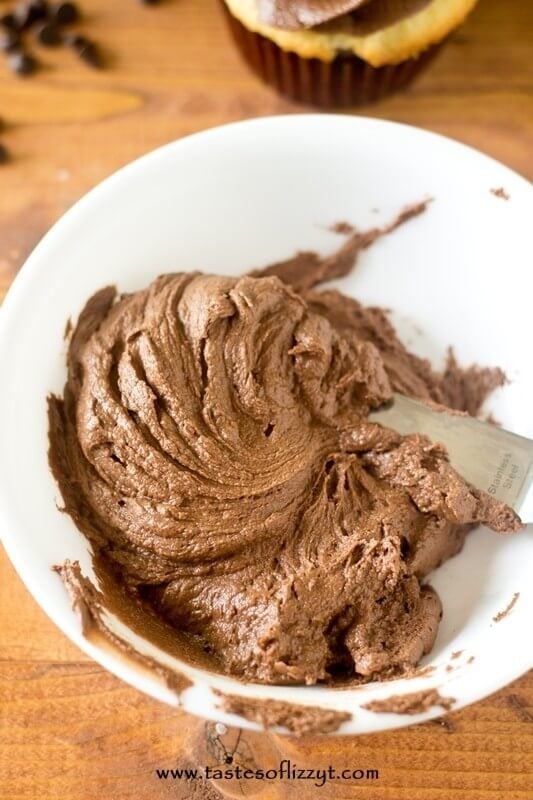
While the cakes are cooling whip up the peanut butter frosting and the chocolate frosting. The key with both is to beat the butter first until it is almost white in appearance. Then add the rest of the ingredients.
A stand mixer is the easiest way to beat homemade frostings and have them end up light and fluffy. If you don’t have a stand mixer, use a high powered hand mixer.
Assembling the Cake
- Place one cake layer on a cake plate.
- Use an offset spatula to spread on peanut butter frosting on one half.
- Then put the other cake layer on top.
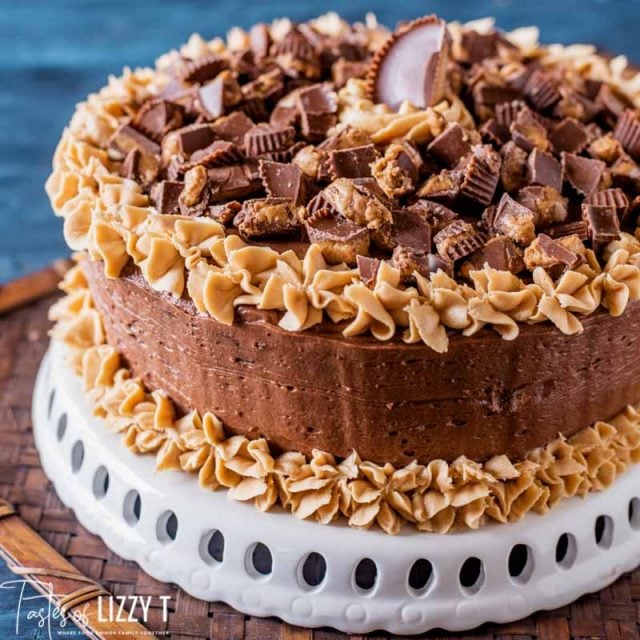
- There’s no need to crumb coat the cake, simply spread that delicious Chocolate Buttercream Frosting all over the entire cake. If your cake is not even, just make the icing a little thicker in the places it needs to be to make an even-looking cake.
At this point, you could stop. After all, the cake will look and taste delicious as it is!
I like to decorate cakes, so I took this cake one step further. It’s really not as hard as it looks. You can totally do this.
Decorating a Cake with Wilton Tips
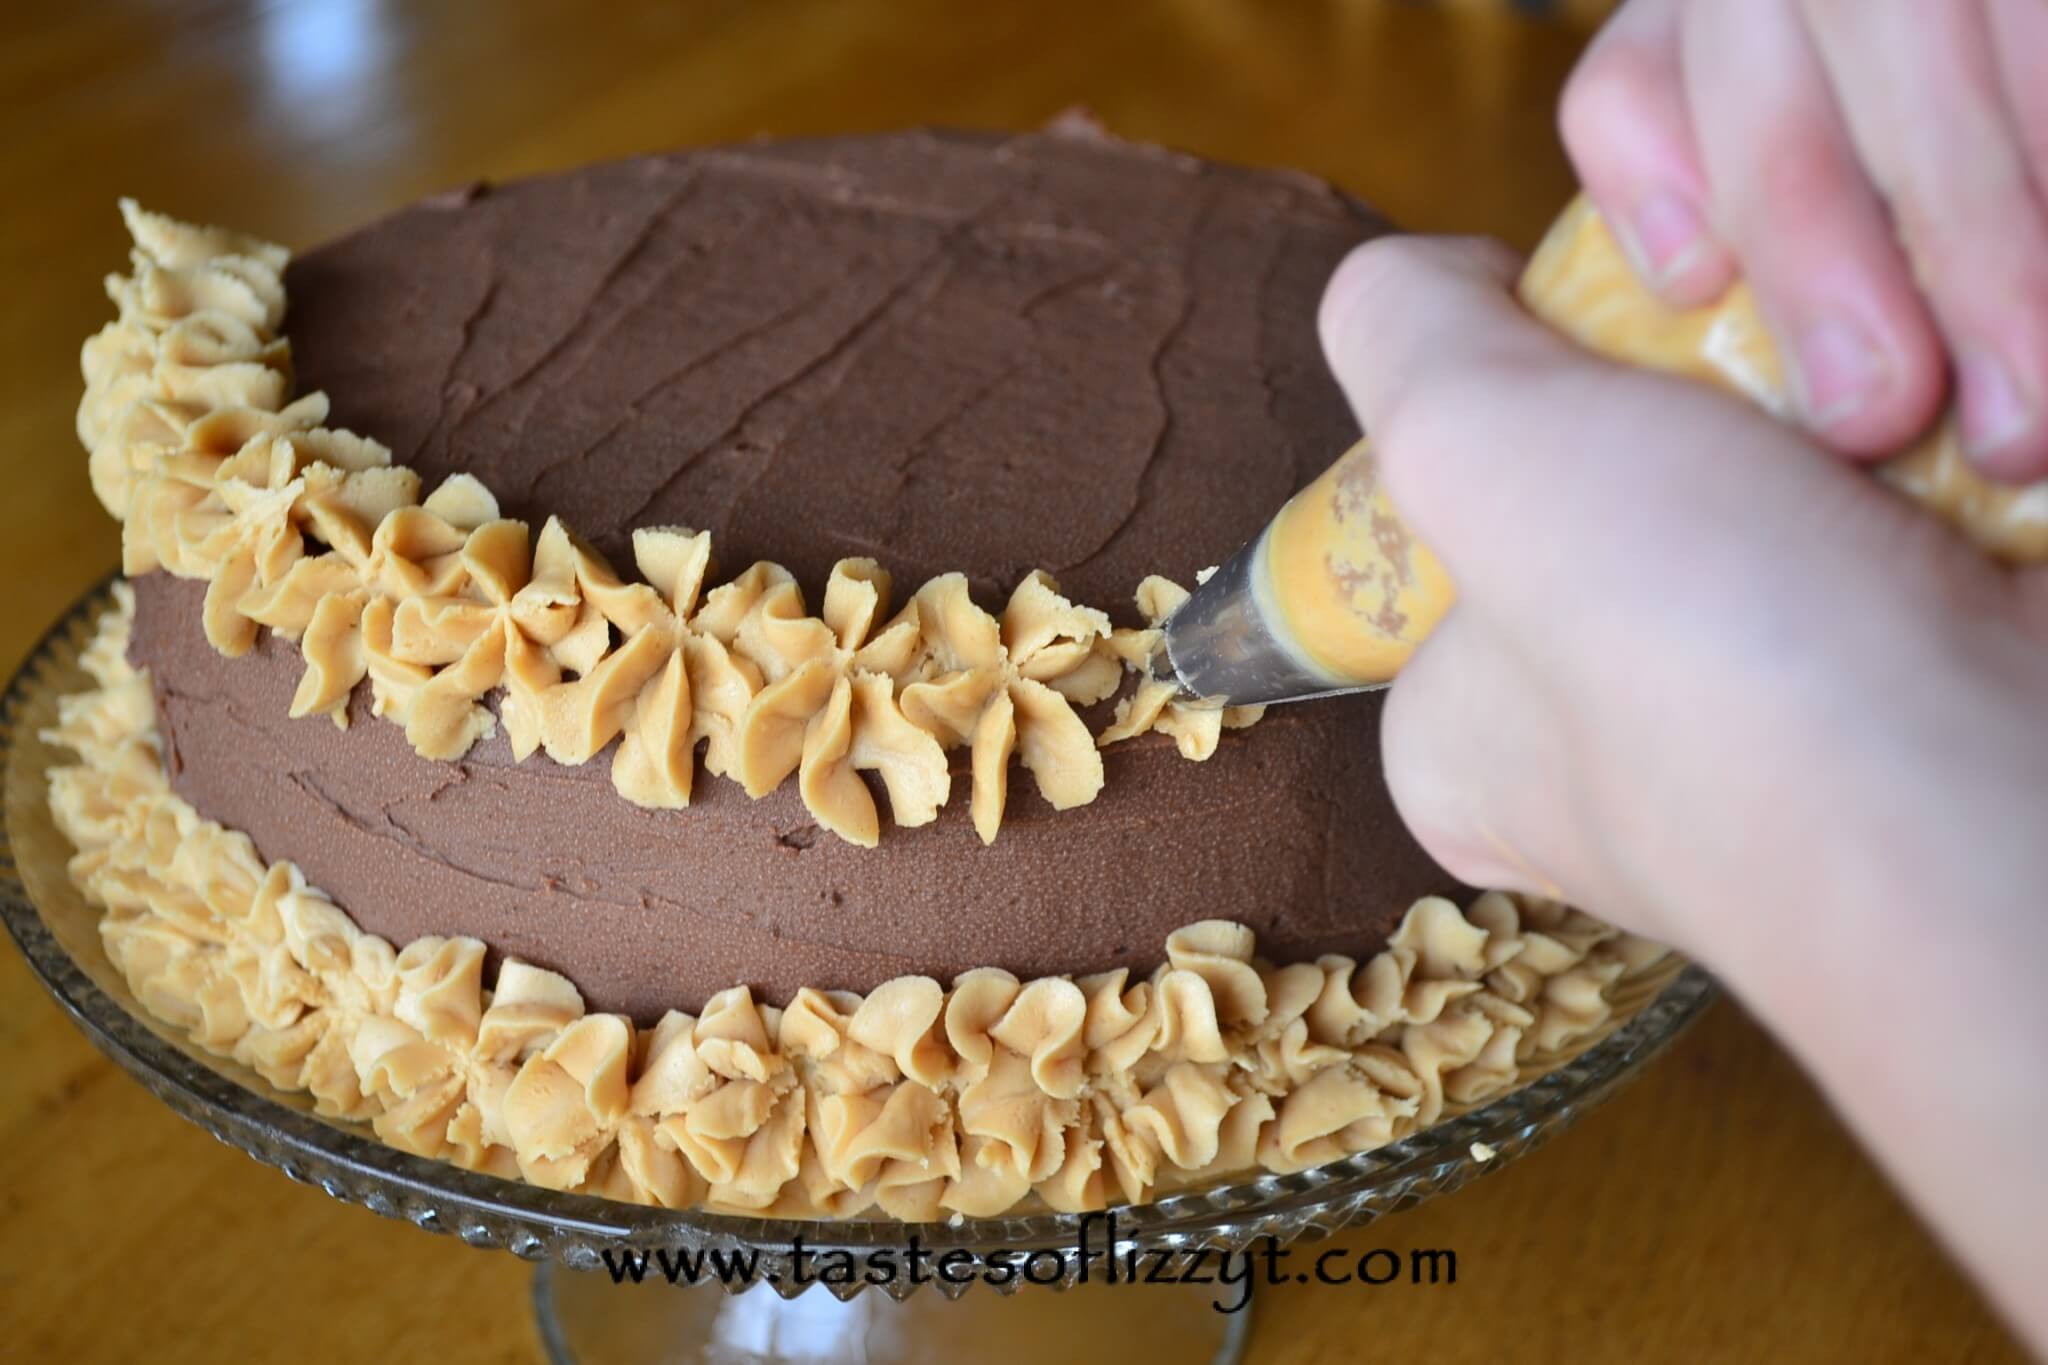
- Take a Wilton 2D tip (1M also works well) and put it in an icing bag. Fill the bag with icing and squeeze the frosting down to get out the air bubbles.
- You can decorate it any way you want and with any tip you want, but to get the look that I have on this cake, just squeeze until your star is the size you want it and pull away to make dollop on the cake. I put stars all around the top and bottom edges of the Reese’s cake.
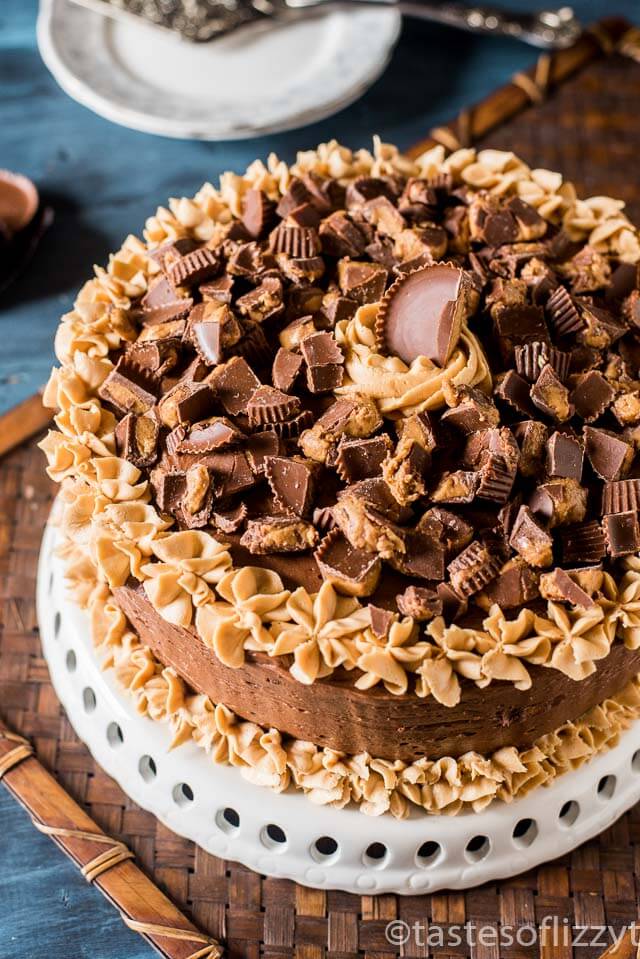
Then cut up Reese’s into small pieces and sprinkle them over the top as desired.
Recipe Variations
Want even more chocolate goodness? Try making chocolate ganache, spreading it over the top of the cake and letting it drip down the sides. It’s what we did on this version and it looks beautiful.
Have chocolate chips to use up? Sprinkle the top with chocolate chips and peanut butter chips instead of Reese’s cups.
Love peanut butter more than chocolate? Make a peanut butter cake as the base. And try a gluten free Reese’s cake!
Storage Instructions
- Room temperature: Store in an airtight container on the counter for up to 24 hours.
- Refrigerator: Store this cake in an airtight container in the fridge for up to 5 days. Bring to room temperature before eating.
- Freezer: Freeze the cake whole or sliced in an airtight container for up to 2 months. I double wrap by wrapping in plastic wrap, then placing the wrapped pieces in another storage container. Thaw at room temperature before eating.
Reese’s Chocolate Peanut Butter Cake
Reese’s Chocolate Peanut Butter Cake is a moist chocolate cake with peanut butter frosting and buttercream frosting! Perfect for the Reese’s lover in your life!
Servings 15 servings
Prep Time 1 hour
Cook Time 25 minutes
Total Time 1 hour 25 minutes
Ingredients
Chocolate Layer Cake:
- 1 3/4 cups all-purpose flour
- 1 3/4 cups granulated sugar
- 3/4 cup unsweetened cocoa powder*
- 1 teaspoon baking powder
- 2 teaspoons baking soda
- 1 teaspoon salt
- 1 cup buttermilk
- 1/2 cup vegetable oil or canola oil
- 2 large eggs (room temperature)
- 1 teaspoon vanilla extract
- 1 cup freshly brewed strong hot coffee
Peanut Butter Frosting:
- 1/2 cup salted butter (room temperature)
- 1 cup creamy peanut butter**
- 2 cups powdered sugar
- 3 tablespoon milk or heavy cream
Chocolate Buttercream:
- 1 cup salted butter (room temperature)
- 1/2 teaspoon salt
- 2 teaspoons vanilla extract
- 3 1/2 cups powdered sugar
- 1/2 cup cocoa powder
- 4 tablespoons heavy cream
Reese's Peanut Butter Cups to decorate, optional
Instructions
- Preheat oven to 350º Fahrenheit. Grease and flour 2 round 9-inch cake pans.
- For the cake, put flour, sugar, cocoa, baking powder, baking soda and salt in a bowl. Use a whisk to whisk the ingredients well.
- In a stand mixer, mix the buttermilk, oil, eggs, vanilla together.
- Slowly add in the mix of dry ingredients while the mixer is on low.
- Add the coffee and make sure everything is combined. The batter will be very thin.
- Pour the batter into the prepared pans and bake for about 25 minutes or until a toothpick inserted in the middle comes out clean.
- Turn the cakes out onto a cooling rack. While the cakes are cooling, make your frostings.
Peanut Butter Frosting:
- In the bowl of a stand mixer, cream together butter and peanut butter for 2 minutes.
- Add 1 cup of powdered sugar and mix until blended.
- Add 2 tablespoons of heavy cream and beat until completely blended.
- Add in the remaining cup of powdered sugar. Beat for 1 minute.
- Test the frosting and if you need another tablespoon or two of heavy cream to make the frosting spreadable, add it in.
Make the Chocolate Buttercream.
- In a stand mixer with the beater blade, beat the butter for 1-2 minutes until it is smooth, creamy and nearly white in appearance.
- Add in the salt and vanilla. Mix until incorporated.
- With the mixer on low speed, slowly add in the powdered sugar and cocoa powder.
- Add the heavy cream, a tablespoon at a time, mixing slowly until it is the consistency that you'd like.
- Beat for 1 minute on medium speed until smooth and creamy.
Assemble the Cake:
- Place one cake layer on a plate.
- Frost the top of the first cake with the Peanut Butter Frosting. Then layer the other half of the cake on top. Frost the outside of the cake with the Chocolate Buttercream Frosting.
- Pipe flowers on top with the leftover Peanut Butter Frosting and/or decorate as desired with chopped Reese’s Peanut Butter Cups.
- Store in an airtight container at room temperature.
Video
Notes
*Dutch process cocoa powder is great for this cake.
**Skippy or Jif are our preferred brands of peanut butter.
The calories shown are based on the cake being cut into 15 pieces, with 1 serving being 1 slice of cake. Since different brands of ingredients have different nutritional information, the calories shown are just an estimate. **We are not dietitians and recommend you seek a nutritionist for exact nutritional information. The information in the nutrition box are calculated through a program and there is room for error. If you need an accurate count, I recommend running the ingredients through your favorite nutrition calculator.**
Originally published on April 20, 2013.
Nutrition
Serving: 130g | Calories: 587kcal | Carbohydrates: 76g | Protein: 8g | Fat: 30g | Saturated Fat: 9g | Cholesterol: 46mg | Sodium: 518mg | Potassium: 309mg | Fiber: 3g | Sugar: 58g | Vitamin A: 295IU | Calcium: 55mg | Iron: 2.2mg
Other Reese’s Recipes to Love
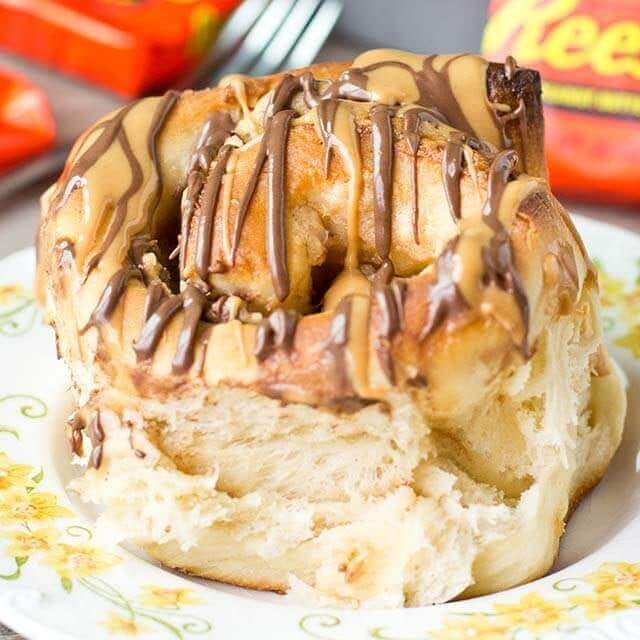
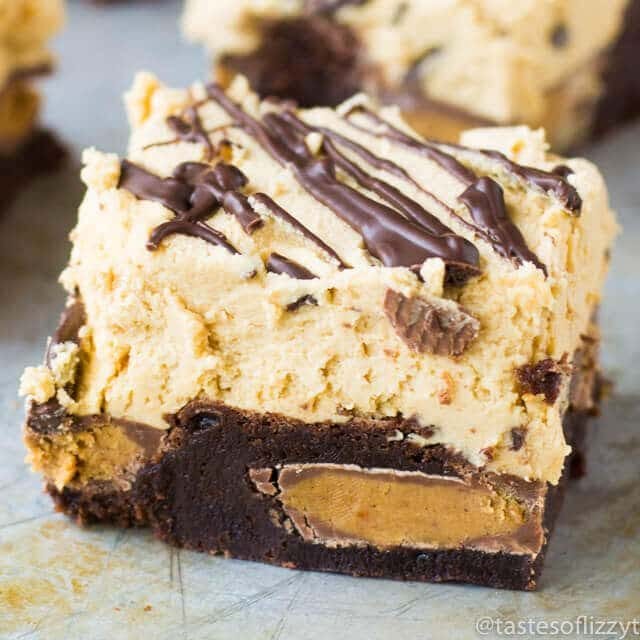
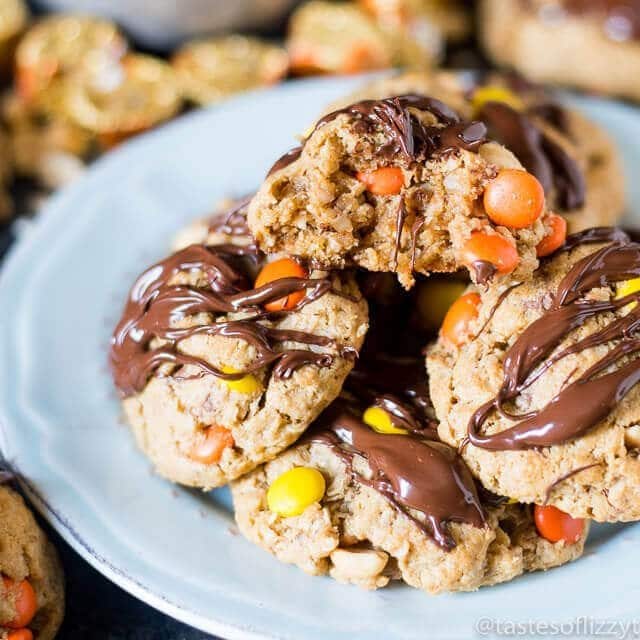
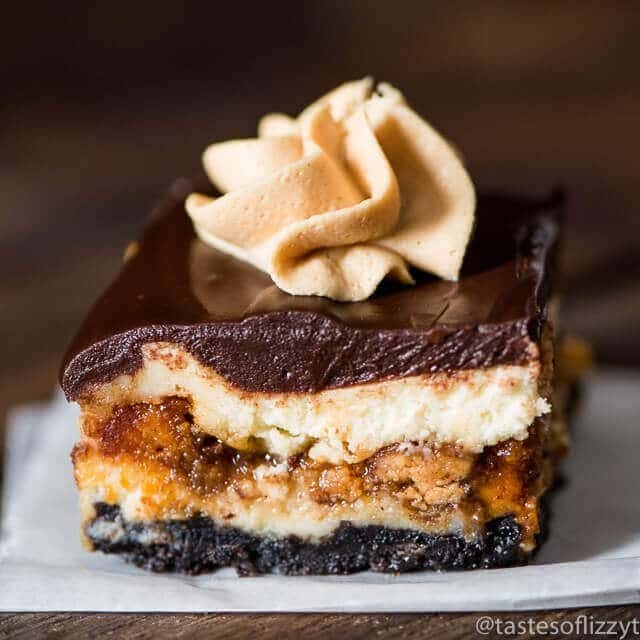
If you love Reese’s peanut butter cups as much as we do, try one of these recipes:


Love the coffee addition! Can you add espresso powder as well to create a more coffee chocolate flavor?
Can you make this recipe with 8 inch pans instead?
I made this for my son’s birthday years ago and it’s still talked about to this day! So I’m making it again this year. We have celiacs in the family so did a direct sub for gluten free flour and it was awesome. Can’t imagine how good the gluten version would be!
Amazing recipe Julie, thank you.
What is one cup equivalent to in the UK?
Has anyone made this as a sheet cake 9×13?
Great recipe! The first cake I’ve made that actually looks and tastes great. The cake itself is very moist and delicious, and the peanut butter frosting tastes amazing. Had to add more heavy cream to make the frostings the right texture, but everything turned out great.
As a lover of all things peanut-butter-and-chocolate, I can definitively say this is the best cake I’ve ever made. I always need extra cream in both the frostings to make them spreadable, but they are both truly luscious. I am obsessed with the bit of salt in the chocolate buttercream! Half of the recipe of peanut butter frosting is perfect if you just want to fill the cake but don’t need extra decoration/trim. Total perfection!
Made this for my moms birthday—it was amazing! The recipe was so simple to follow and had basic ingredients. It was very easy to make. We think it may be the new family favorite!
This recipe is amazing! The only changes I made to recipe are I used olive oil in cake, natural peanut butter in frosting, and needed more cream to make the frosting the consistency I needed. I made cupcakes, baked for 16 mins, and they were so moist. I filled cakes with the peanut butter frosting and piped half peanut butter and half chocolate frosting on each cake. Topped each cupcake with a halfed snack sized peanut butter cup. So delicious and the birthday girl loved it! Thanks for sharing!