Amish Friendship Bread Starter Recipe
May contain affiliate links. Disclosure policy.
Use this Amish Friendship Bread Starter Recipe as a base for many sweet breads, dinner rolls, muffins and other baked goods. Hints for storing and using up the sourdough starter.
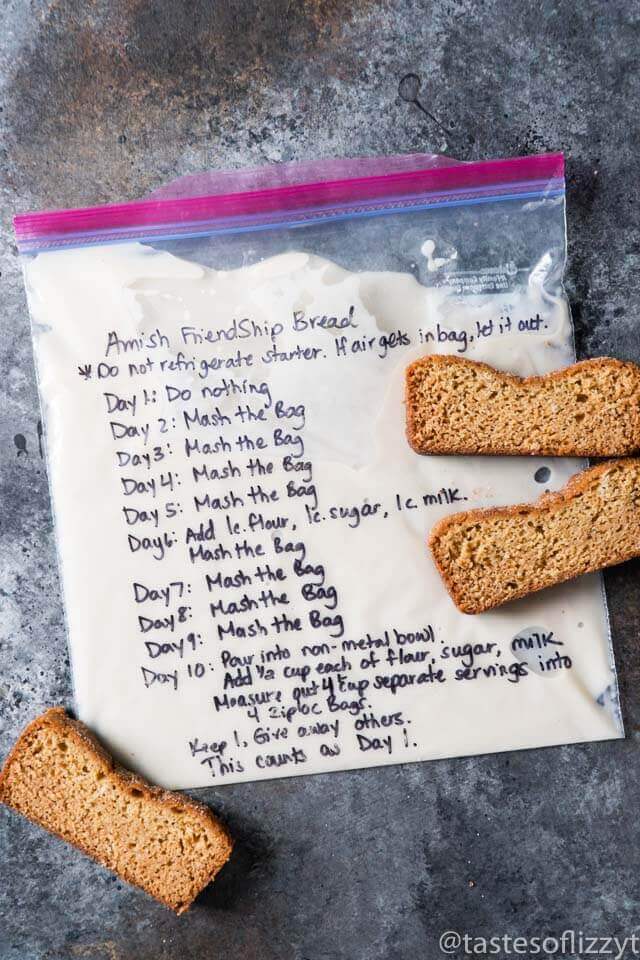
Download the Amish Friendship Bread Starter instructions here.
Click here to see how to bake the friendship bread.
Have I got a treat for you today! Classic Amish Friendship Bread Starter Recipe. Have you ever tried this sweet sourdough?
It’s one of those recipes that people seem to either love or hate. On one hand, you make a sweet sourdough that you have to keep dividing and using up, or passing out to your friends….or throw away. If you keep the starter going, it just…well…keeps going.
On the other hand, you make a sweet sourdough that is versatile and makes an amazing cinnamon quick bread. Quick bread that is so addicting that you can eat 6 loaves in a matter of 3 days.
Yeah….just please don’t ask. 🙂
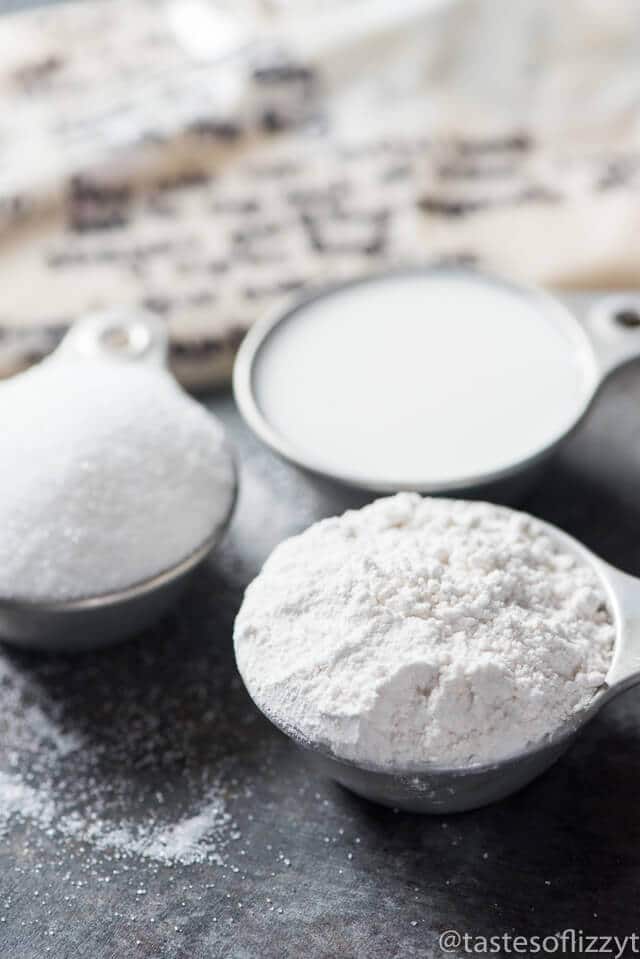
Whether you make it this bread weekly, haven’t seen it in years, or are completely new to Amish Friendship Bread, my goal is to convince you to at least give easy sourdough recipe a try. I’m going to make it easy for you with hints! The recipe for the bread itself is coming soon, but first you need the starter.
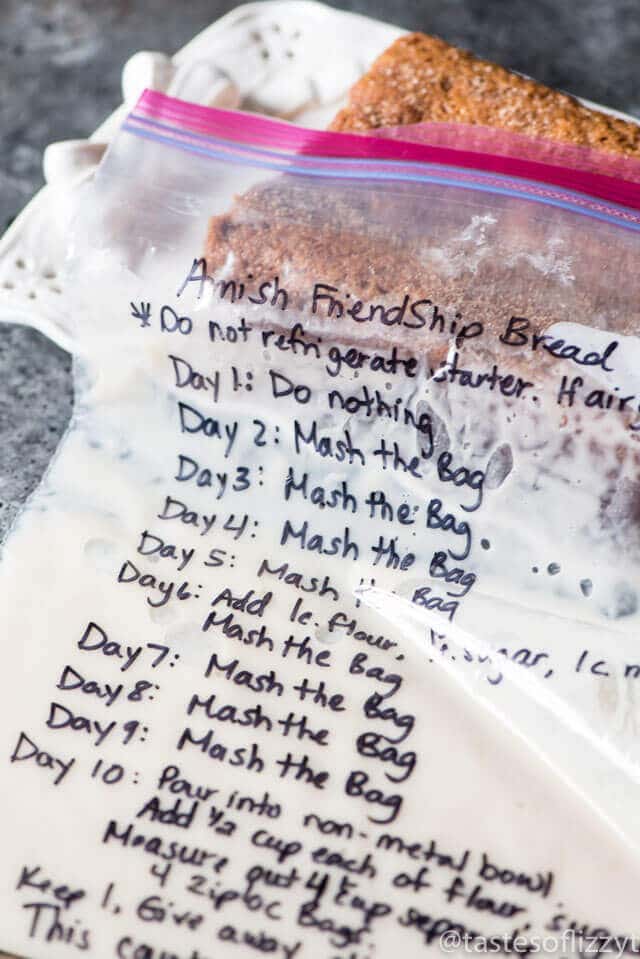
How to Make Amish Friendship Bread Starter:
- Have Ziploc plastic bags (for easily storing the starter), glass bowls and wooden spoons on hand. For sourdough, you don’t want to use metal bowls or utensils. Sourdough is acidic and can dissolve some metals. It’s best to use anything but metal bowls and utensils.
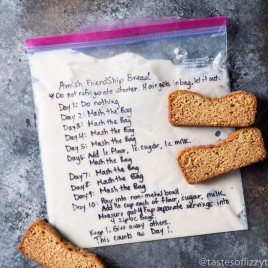
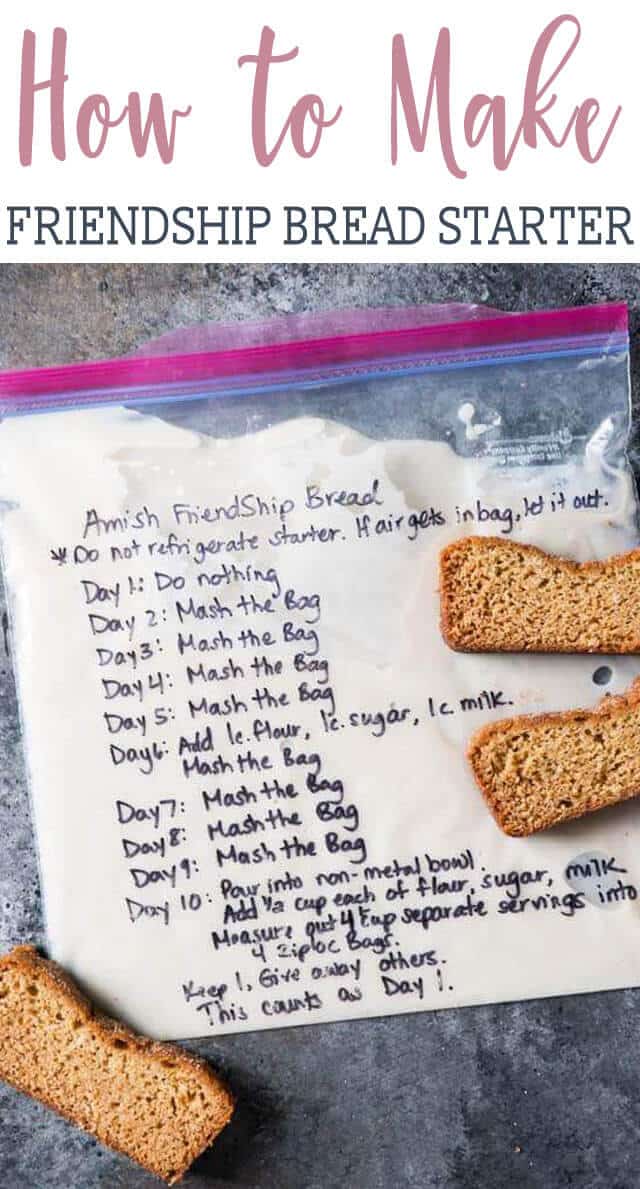
- Write the directions right on the Ziploc bags using a permanent marker so you never have to go hunting for the directions.
- Make the starter recipe, then pour it into a Ziploc bag (with the directions written on it). You can also store this in a loosely covered glass bowl if you’d like. I just find it easier to use a Ziploc bag.
- While you are working your way through the 10-day process, store the starter at room temperature. If the Ziploc bag gets air in it, simply let it out.
- How much sourdough you end up with at the end of the 10 day process depends on how active your sourdough is. You’ll end up with about 5-6 cups.
- On Day 10 after you add last bit of flour, sugar and milk, separate out 1-cup portions into Ziploc bags (don’t forget those directions on the front!).
- At this point, you can give away some of those starter bags to friends along with the recipe and instructions so they can indulge in their own friendship bread.
- Keep a starter for yourself to continue the sourdough process (Day 10 is equal to Day 1), and make the Amish Friendship Bread with one of the other cups of starter.
- If you can’t find anyone who wants the sourdough starter, simply throw those 1-cup bags into the freezer until another time when you’d like to start the sourdough process our bake the bread. When you pull the sourdough out of the freezer, treat it as Day 1. Or just go ahead and use that cup to bake loaves of friendship bread!
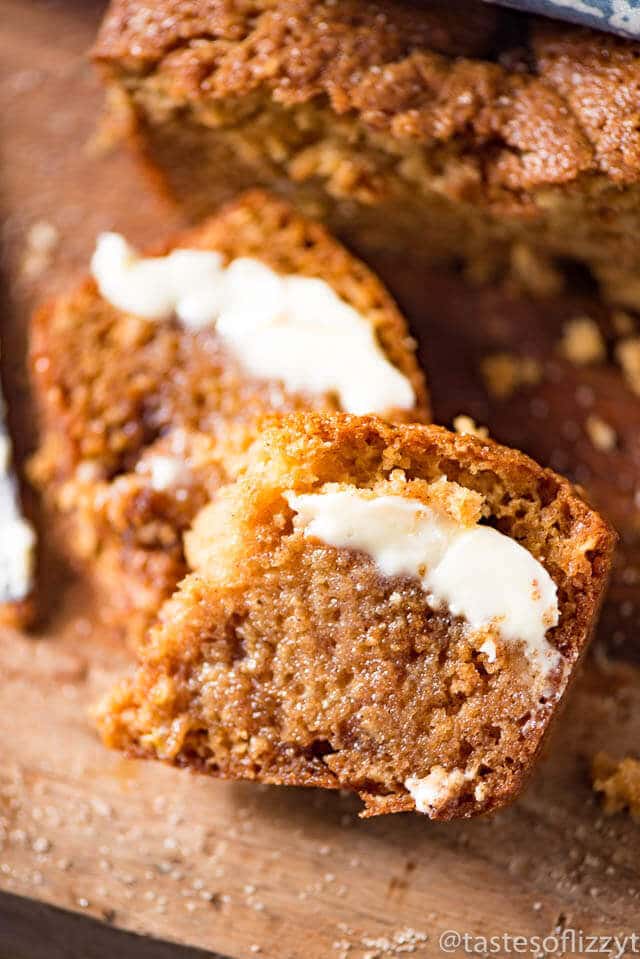
You don’t have to feel like this is a never-ending recipe. Although it may seem that way, you can easily freeze the 1-cup sourdough portions at the end of the 10 days to make multiple recipes (that we’ll be sharing on our site soon!).
But this Amish cinnamon friendship bread? You’ll be wanting to make it. It’s the best in served warm with a slather of butter.
Although this sweet sourdough starter is very easy, you may have questions! Please comment below with your questions and I’ll update this article to answer your questions as you have them.
Other Recipes to Use our Starter in:
Download the Amish Friendship Bread Starter instructions here.

Amish Friendship Bread Starter Recipe
Use this Amish Friendship Bread Starter Recipe as a base for many sweet breads, dinner rolls, muffins and other baked goods. Hints for storing and using up the sourdough starter.
Servings 4 cups
Prep Time 10 minutes
Total Time 10 minutes
Ingredients
- 1/4 cup warm water about 110 degrees
- 1 package active dry yeast* (2 ¼ teaspoons)
- 1 cup all-purpose flour
- 1 cup granulated sugar
- 1 cup milk (2% or higher fat)
Instructions
- Pour the warm water into a small glass bowl.
- Sprinkle the yeast over the water. Let this stand for 5-8 minutes to allow it to dissolve.
- In a larger glass bowl (or plastic bowl. Don’t use metal bowls or utensils for sourdough), mix together the flour and sugar with a wooden spoon.
- Stir in the milk and then the yeast mixture.
- Cover loosely with plastic wrap and allow it to stand until bubbly.
- Once the mixture is bubbly, pour it into a gallon-size zippered plastic bag and seal. Do not refrigerate. Allow the sourdough mixture to sit out at room temperature. This counts as Day 1.
- Day 2: Mash the bag.
- Day 3: Mash the bag.
- Day 4: Mash the bag.
- Day 5: Mash the bag.
- Day 6: Add 1 cup each of flour, sugar and milk. Mash the bag until it is mixed well.
- Day 7: Mash the bag.
- Day 8: Mash the bag.
- Day 9: Mash the bag.
- Day 10: Pour the sourdough into a glass (or other nonmetal) bowl. Add ½ cup each of all-purpose flour, granulated sugar and milk. Mix well with a wooden spoon.
- Divide out 1 cup portions of the starter, placing each one-cup portion in separate zippered plastic bags. You’ll get about 4-5 bags.
- Seal the bags, and give the starter away to friends along with the instructions, keeping one for yourself if desired. The starter then goes back to Day 1.
- Keep one starter for yourself.
Video
Notes
*Instant yeast will work as well.
**Calorie count shown above is for the friendship bread starter only and measures the calories in an entire cup. You use 1 cup of starter per two loaves of bread.
Nutrition
Calories: 337kcal


Will this recipe work with gluten-free flour?
Day 3, not much action today, did not have to open bag and let the air out.. is this normal?
I forgot to add stuff in day 10. Is day 11 too late? And I can’t use a metal whisk to break up the flour, correct?
If I already have a sourdough starter (flour, water, room temp, feed, repeat….used the one I initially found from farmhouse on boone) Could I use my starter and just add the remaining ingredients into it? Or is this starter somehow different to others?
His bubbly is it supposed to get? And about how long should we expect it to take? I don’t know quite what I’m looking for.
I just finished day 10 and it turned out great. I am now separating into 1 cup in four bags. My question is after I separate and this becomes Day 1 for the new bags, do I add flour, sugar milk to the new bags or just leave them with the 1 cup of the mixture until Day 6?
Help….So I have made this before with no problem. The last 2 times I have tried my starter bag fills up with air and wants to explode? I’m not sure what I am doing wrong.
Can you use Lactose Free milk?
Today is day 10 and I’m too tired to make the bread. Can I still use and bake it tomorrow?
First of all, thank you for the great instructions on how to get a starter for bread and the the great recipes to make after 10 days. I am on day 2 and my bag has a lot of air in it. I tried to get most of it out yesterday. What should I do, release the air or let it go? Thank you!
My starter doesn’t have very many bubbles in it. How long should I wait to transfer it to the bag? Thanks!
Can you use rapid rise instead of active dry yeast?
I’m looking for a basic Amish bread baking recipe to use this starter with but the one shared seems to be a cinnamon/vanilla pudding bread. Do you have a basic loaf recipe? Thanks!
Thank you for all the amazing information! Can you use the packets of rapid rising yeast that is usually used with a bread maker? I’m thinking no, but maybe I’m wrong haha.
Can we use freshly ground whole wheat flour that has not been through the process that companies use to strip it? Or will it go rancid?